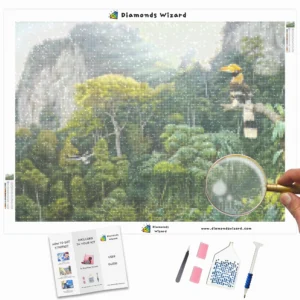
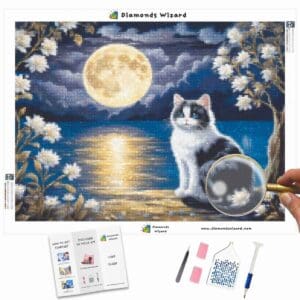
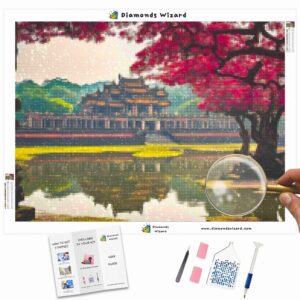
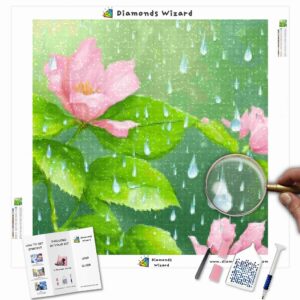
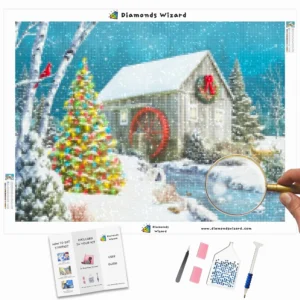
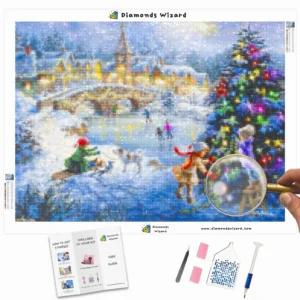
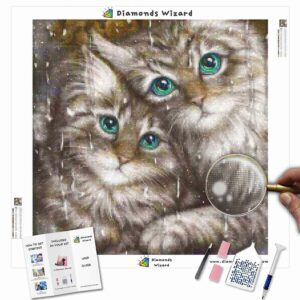
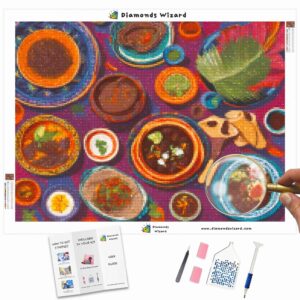
Diamond painting has gained immense popularity as a creative and relaxing hobby. It involves creating stunning works of art by placing tiny resin diamonds onto a canvas, following a pattern. While there are various diamond painting kits available in the market, you may wonder how to turn your own cherished picture into a personalized diamond painting. In this blog, we will guide you through the process of transforming a picture into a diamond painting, allowing you to capture your most treasured memories in sparkling gemstones.
Choosing the Right Picture
Turning a picture into a diamond painting begins with selecting the perfect image. Here are some essential considerations to ensure a successful and visually appealing result:
1. Picture Quality:
Start by choosing a high-resolution image with clear details. A picture with sharp lines and vibrant colors will translate well into a diamond painting. Avoid low-resolution or blurry images, as they may not capture the desired level of detail.
2. Size and Complexity:
Consider the dimensions of the canvas you have or plan to purchase. Larger canvases require high-resolution images to maintain clarity. Additionally, keep in mind that complex images with intricate details may be more challenging to translate into a diamond painting.
Converting the Picture into a Diamond Painting Design
Once you have selected the ideal picture, the next step is to convert it into a diamond painting design. There are actually quite a few methods at your disposal for achieving this objective.
1. Manual Design Conversion:
If you have artistic skills or prefer a hands-on approach, you can convert the picture into a diamond painting design manually. This method involves dividing the image into grids and assigning each grid a color code corresponding to the diamond color. You can use specialized graph paper or computer software to simplify the process. While this method allows for greater customization, it can be time-consuming and requires attention to detail.
2. Online Diamond Painting Design Tools:
For those looking for a quicker and more automated approach, online diamond painting design tools are a fantastic option. Several websites provide user-friendly interfaces that allow you to upload your picture and generate a custom diamond painting kit. These tools often offer customization options such as size or diamond shape. Click here to start designing your own custom diamond painting kit.
Bringing Your Diamond Painting to Life
After converting the picture into a diamond painting design, it’s time to assemble the necessary materials and start creating your masterpiece:
1. Gather the Supplies:
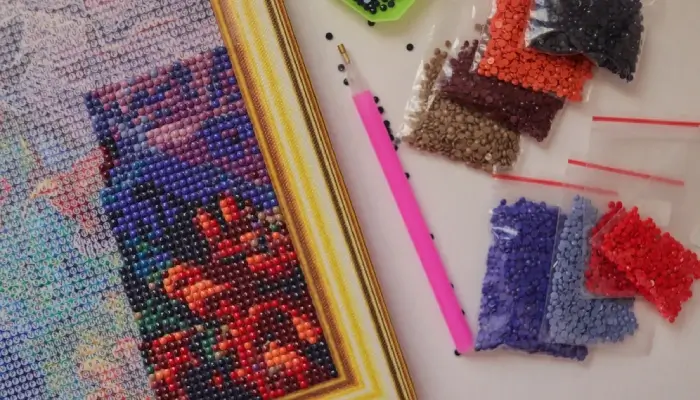
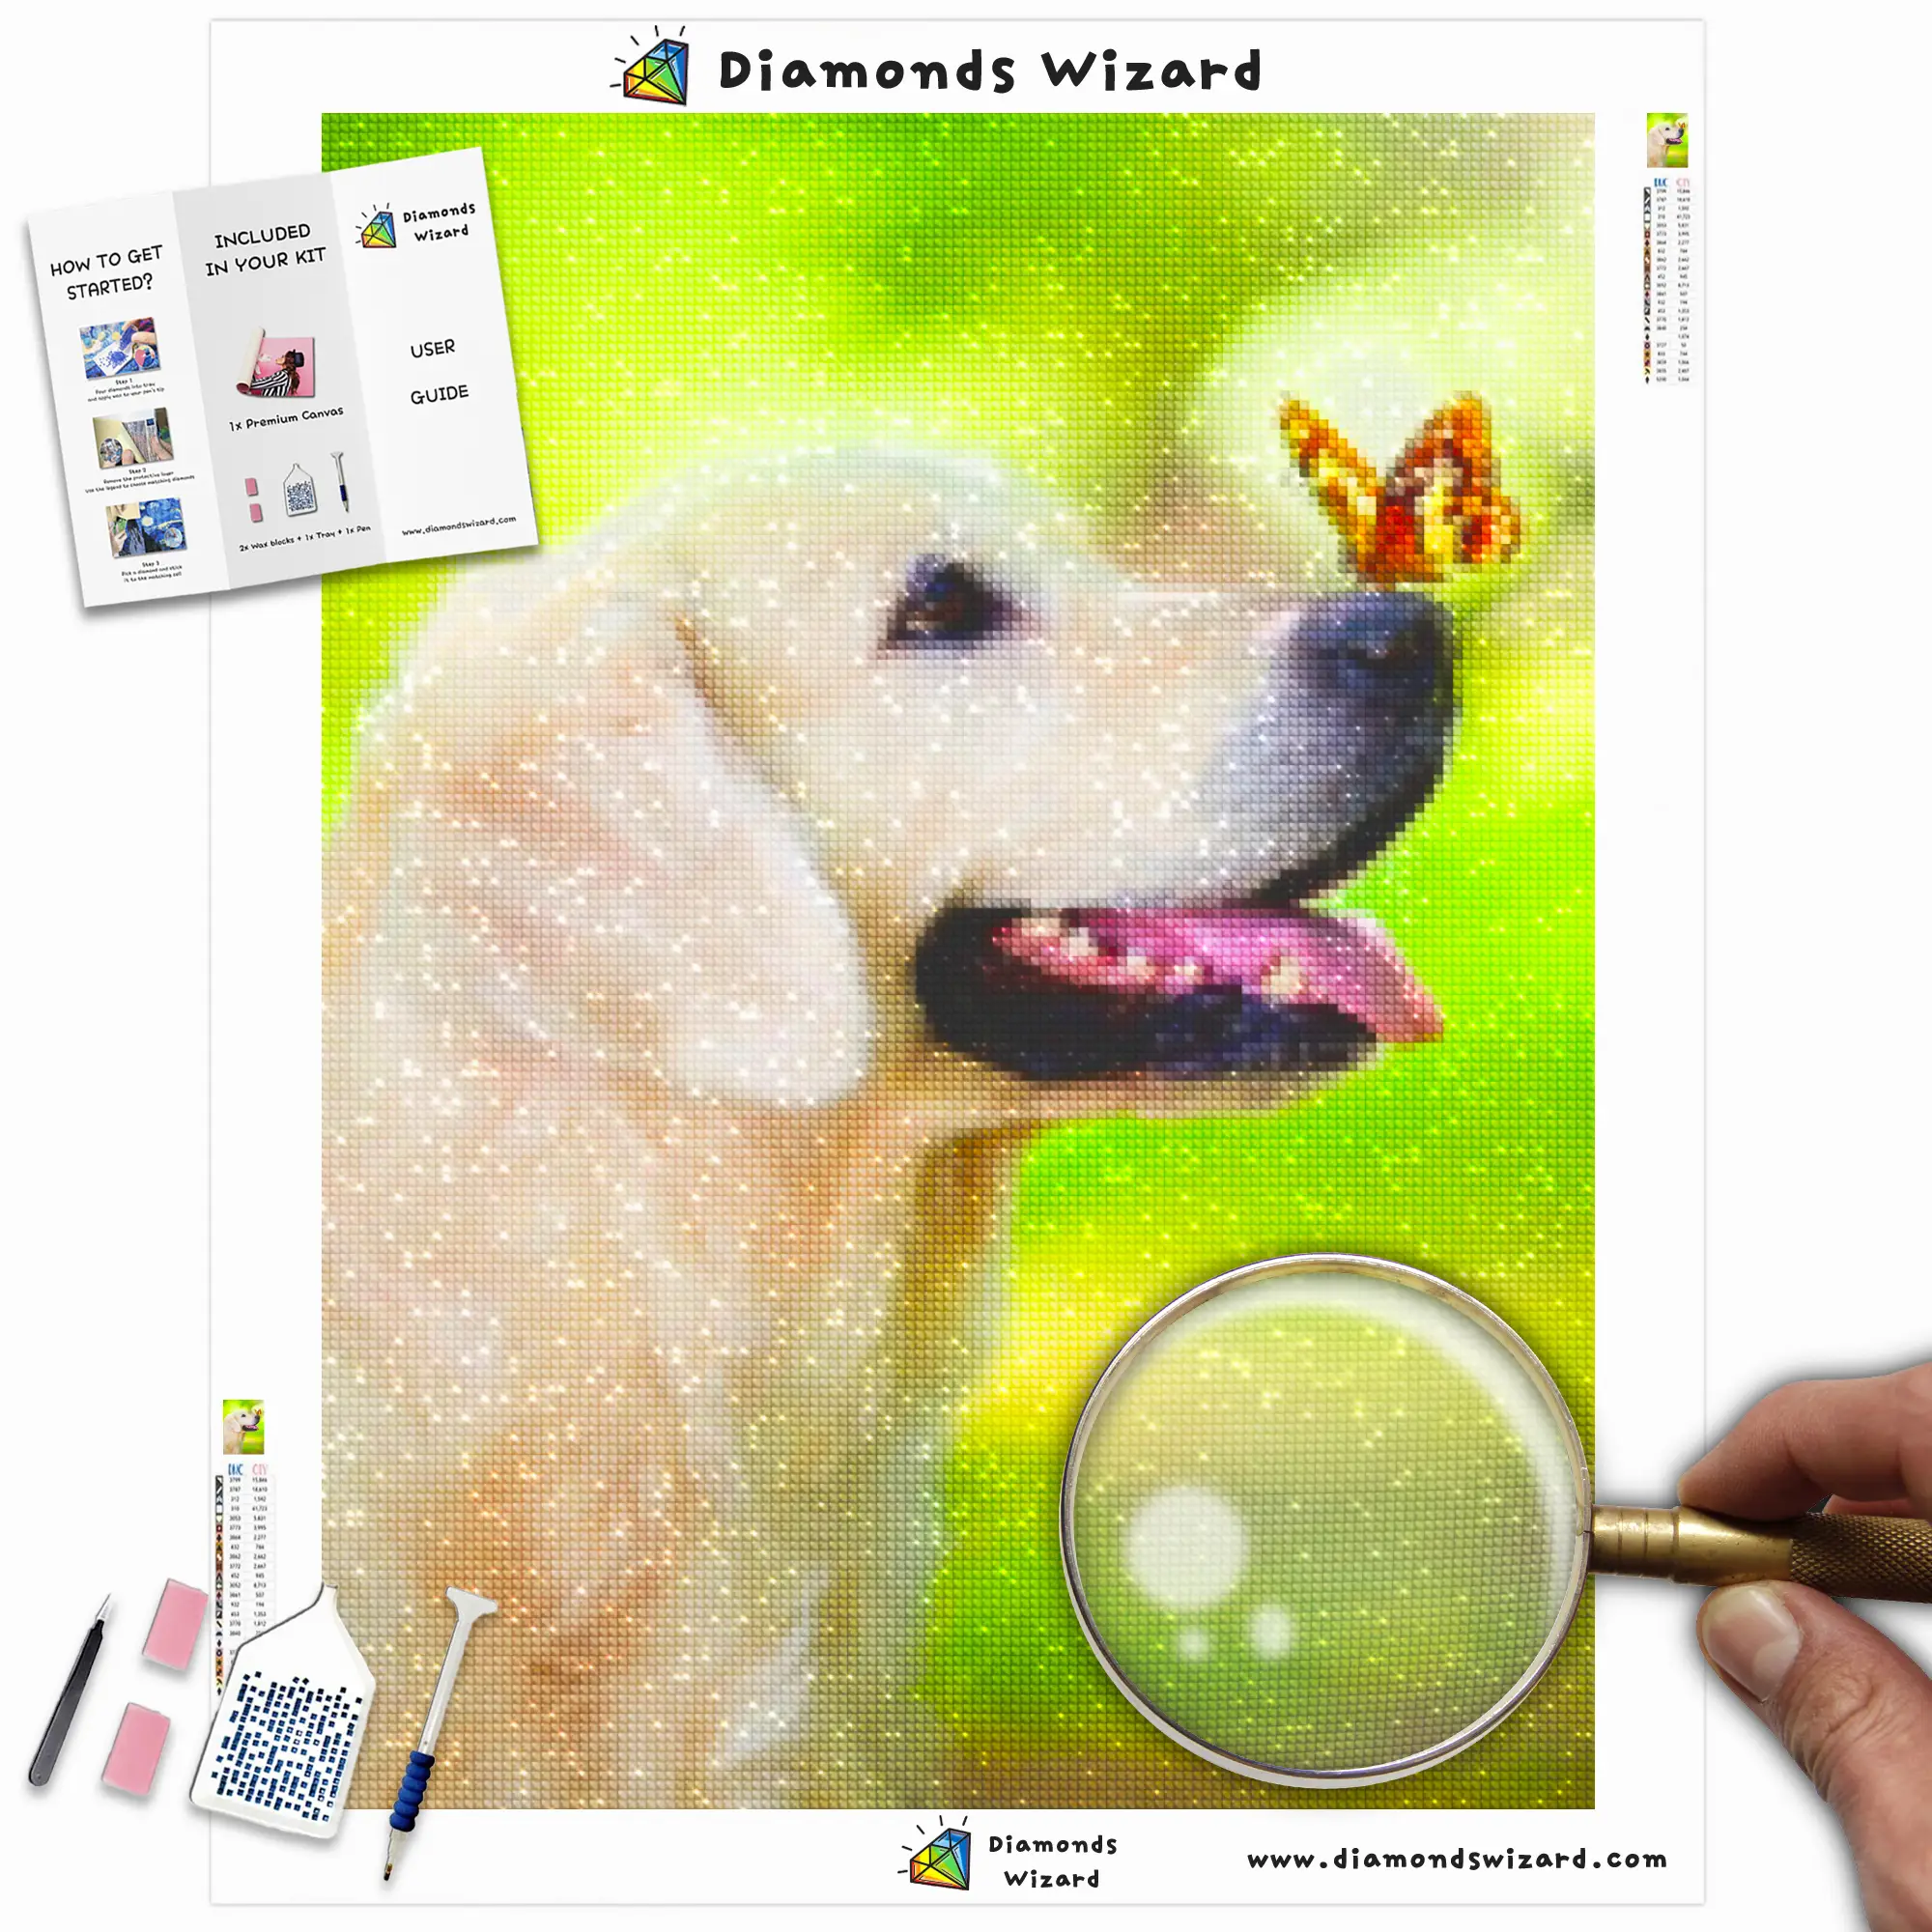
Make sure you have all the essential supplies for diamond painting, including a canvas, diamonds (also known as drills), a diamond applicator tool, wax or adhesive, and a tray for organizing the diamonds.
2. Prepare the Canvas:
Unroll the canvas and secure it flat on a clean and smooth surface. Use clips or weights to prevent any wrinkles or movement during the painting process. Some canvases come with an adhesive layer, while others require the use of a separate adhesive, which should be applied evenly across the canvas.
3. Start Painting:
Begin your diamond painting journey by carefully pouring a small quantity of diamonds into the tray. Dip the diamond applicator tool into the wax or adhesive to help pick up the diamonds easily. Match the color code of each diamond with the corresponding symbol on the canvas, and gently press the diamond onto the adhesive or pre-marked area.
Conclusion
Turning a picture into a diamond painting is a rewarding and creative endeavor that allows you to preserve cherished memories or create unique works of art. By choosing the right picture, converting it into a diamond painting design, and meticulously placing the diamonds, you can transform a simple image into a dazzling masterpiece. So, grab your favorite photo and embark on an enchanting diamond painting adventure, where every sparkling gem brings your picture to life in a whole new way.

