Diamond painting has become an increasingly popular craft activity, combining the beauty of paintings with the therapeutic nature of diamond art. This unique form of creative expression allows enthusiasts to create stunning artworks by placing tiny resin diamonds onto a canvas, resulting in a dazzling mosaic-like effect. If you’re wondering how to turn a picture into a diamond painting, you’ve come to the right place! In this blog post, we will guide you through the process step by step, enabling you to transform your favorite photographs into sparkling diamond paintings that you can cherish forever.
Gathering Your Materials
To get started on your diamond painting journey, you’ll need a few essential materials. Here’s a handy checklist to help you gather everything you need:
1. Picture Selection:
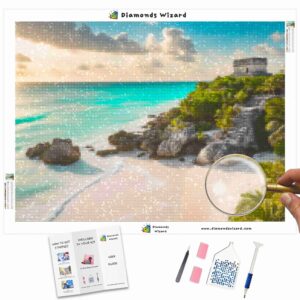
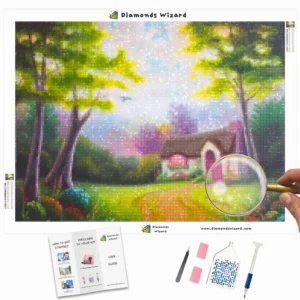
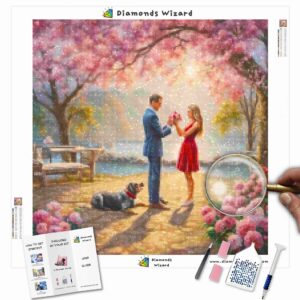
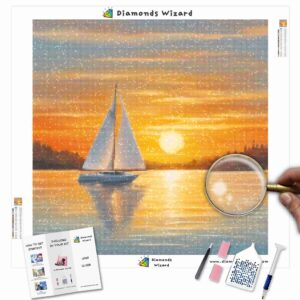
Choose a clear and high-resolution photograph as the base for your diamond painting. It could be a cherished family portrait, a breathtaking landscape, or even a beloved pet. Keep in mind that the level of detail in the photo will determine the intricacy of your diamond painting.

2. Diamond Painting Kit:
Purchase a diamond painting kit that includes all the necessary components. These typically include a pre-printed canvas, adhesive layer, color-coded resin diamonds, a tray, and a diamond applicator tool (pen or tweezers). Ensure that the kit matches the size and complexity you desire.

3. Workspace and Comfort:
Set up a dedicated workspace where you can comfortably work on your diamond painting. Good lighting and a flat surface are essential for accurate placement of the diamonds. Consider using a light pad to enhance visibility if needed.
Preparing the Canvas
Once you have your materials ready, it’s time to prepare the canvas before you start applying the diamonds:
1. Unroll the Canvas:
Lay the canvas flat on your workspace and unroll it carefully. Smooth out any wrinkles or creases by gently pressing on the canvas or using a roller.
2. Understanding Symbols and Colors:
Diamond painting canvases are printed with a grid pattern and symbols, corresponding to different colors of resin diamonds. Familiarize yourself with the symbol/color key provided in your kit. Some kits may also have numbers or letters to further assist you in identifying the correct diamonds.
3. Peel Off the Protective Film:
The canvas is covered with a protective film layer. Start peeling off a small section of the film, exposing the adhesive layer beneath. It is recommended to uncover one section at a time to prevent dust or debris from sticking to the exposed adhesive.

Placing the Diamonds
Now comes the exciting part—placing the diamonds onto the canvas and bringing your picture to life:

1. Sorting and Organizing:
Pour out a small quantity of resin diamonds into the tray. Use the diamond applicator tool to pick up a single diamond, ensuring the flat side adheres to the applicator’s tip. Match the diamond’s color and symbol to the corresponding area on the canvas. Some people find it helpful to sort diamonds by color using resealable bags or storage containers.
2. Applying the Diamonds:
Carefully apply gentle pressure to affix the diamond onto its corresponding symbol on the canvas. The adhesive surface will ensure a secure hold for the diamond. Repeat this process, working one symbol at a time, until the section is complete. As you progress, the sparkling mosaic will gradually emerge.
3. Finishing Touches:
After completing a section, use a roller or your hands to apply light pressure across the canvas. This step helps ensure that all diamonds are firmly attached. Take breaks as needed to rest your eyes and maintain your focus.
Conclusion
Creating a diamond painting from a picture allows you to transform beloved memories or captivating images into remarkable works of art. By following these simple steps and embracing the meditative process, you can turn your favorite photographs into dazzling diamond paintings that will bring joy and beauty into your life. Unleash your creativity, explore different designs, and let the mesmerizing sparkle of diamond art capture your imagination. Start your journey today and unlock a whole new world of artistic expression. Happy diamond painting!