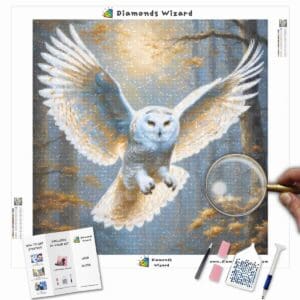
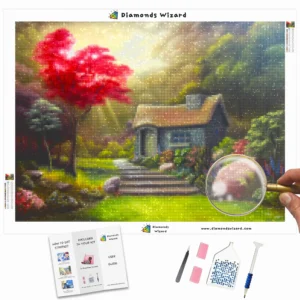
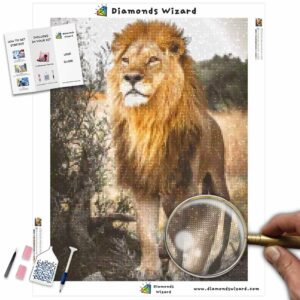
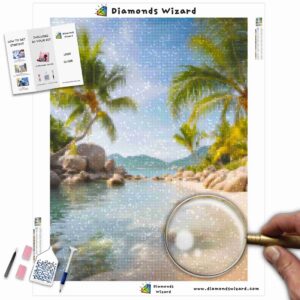
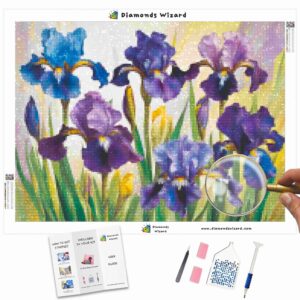
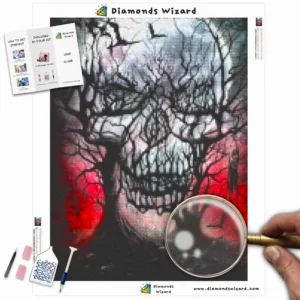
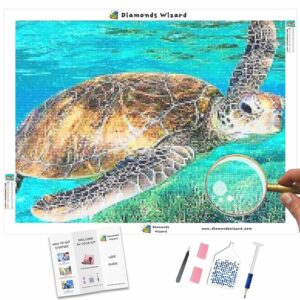
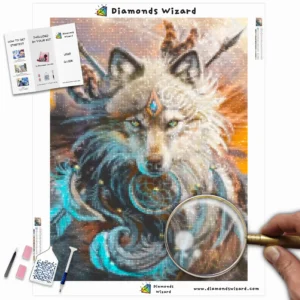
Diamond painting is an increasingly popular craft that combines the soothing elements of paint-by-numbers with the stunning brilliance of sparkling diamonds. It’s a versatile and enjoyable hobby that allows you to create dazzling artwork by placing colorful resin diamonds onto a pre-printed canvas. Whether you’re a seasoned artist or a beginner looking to explore your creative side, diamond painting offers a fun and rewarding experience. In this blog post, we’ll guide you through the process of how to do a diamond painting from start to finish, ensuring that you have all the knowledge and tips you need to create a masterpiece.
Getting Started: Materials and Preparation
The first step in your diamond painting journey is to gather all the necessary materials and prepare your workspace. Here’s what you’ll need:
1. Diamond Painting Kit:
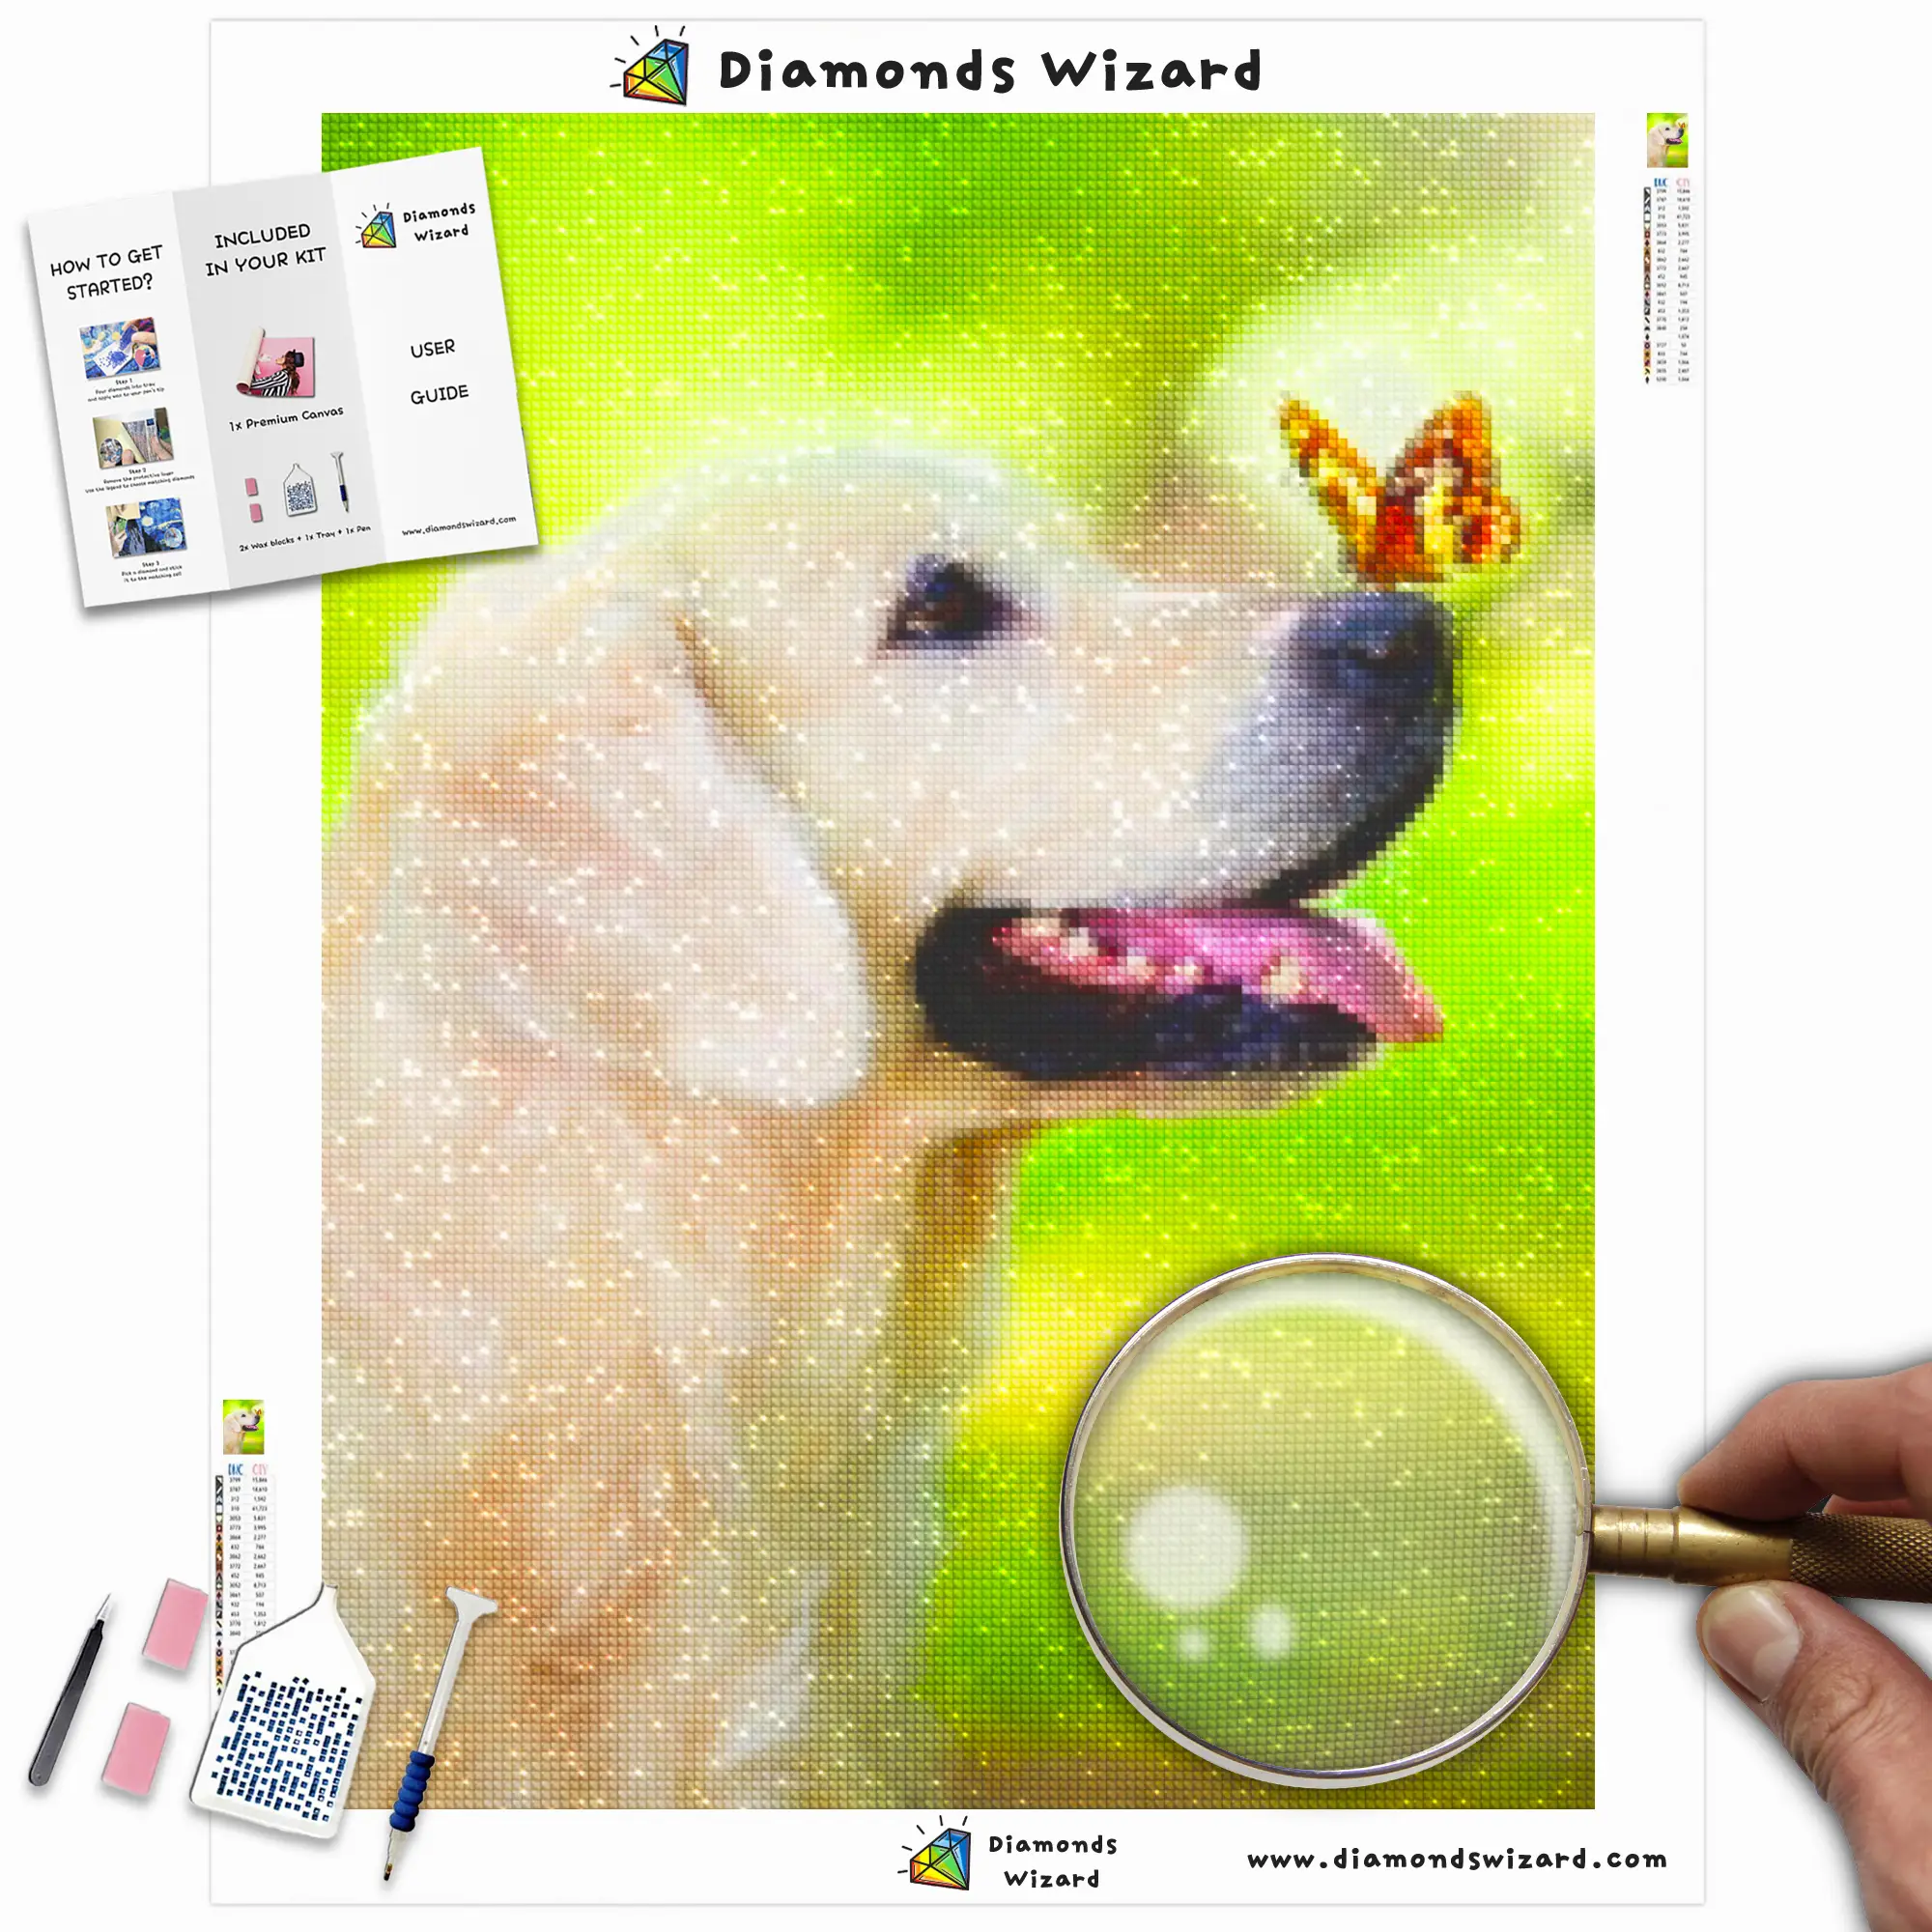
Purchase a diamond painting kit that includes all the essential items required for the project. Kits typically consist of a pre-printed canvas, an adhesive surface, resin diamonds, a tray to hold the diamonds, a diamond applicator pen, and wax.
2. Choose a Design:
Select a design that appeals to you from the wide range of options available. Start with a simpler design if you’re a beginner, and as you gain experience, you can move on to more intricate patterns.
3. Prepare Your Workspace:
Find a clean, well-lit area where you can comfortably work on your diamond painting. Lay out all the materials and ensure that you have enough space to spread out the canvas.
4. Wax Your Diamond Applicator Pen:
Take a small amount of wax and roll it into a ball. Insert the diamond applicator pen into the wax, which will help pick up the diamonds more easily.
The Diamond Painting Process: Unleash Your Creativity
Now that you have your materials ready, let’s dive into the process of actually creating your diamond painting masterpiece:
1. Understand the Symbols:
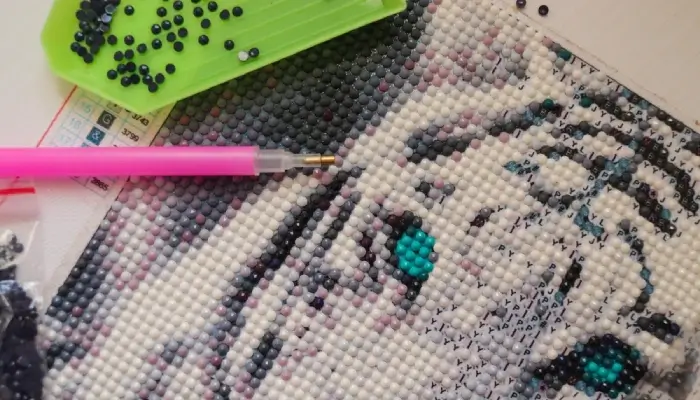
The canvas is pre-printed with symbols corresponding to different diamond colors. Familiarize yourself with the symbol key provided in your kit to identify which color corresponds to each symbol.
2. Peel Back the Protective Film:
Carefully remove a small portion of the protective film covering the canvas, exposing the adhesive surface. It’s best to work on one small section at a time, gradually peeling back the film as you progress.
3. Start with the Borders:
Begin by placing diamonds along the border of the design. To start, gently apply a small quantity of wax to the diamond applicator pen. Next, delicately pick up a diamond using the tip of the pen and carefully position it onto the matching symbol on the canvas. Gently press down to ensure the diamond sticks to the adhesive surface.
4. Fill in the Design:
Work your way through the canvas, filling in the design one section at a time. Start from the top and move downward, or choose a section that you find particularly interesting. Remember to match the diamond color with the corresponding symbol on the canvas.
5. Work with Precision:
To achieve a polished look, make sure the diamonds are placed neatly and aligned correctly. Use the applicator pen’s flat side to gently press down on the diamonds, ensuring they are firmly attached to the canvas.
6. Enjoy the Process:
Diamond painting is a relaxing and therapeutic activity. Take breaks whenever you feel the need, and remember to enjoy the process of bringing your artwork to life. The repetitive nature of the craft can be quite meditative and soothing.
Conclusion
Diamond painting offers a unique way to express your creativity and create stunning works of art that sparkle and shine. By following the steps outlined in this blog post, you’ll be well-equipped to embark on your diamond painting journey. Remember to choose a design you love, set up a comfortable workspace, and take your time to create a masterpiece that reflects your artistic vision. So gather your materials, unleash your creativity, and let the diamonds guide you on a path of relaxation and self-expression. Happy diamond painting!

